Resources
 A quick start guide for you and your team to make the most out of Buildstack, starting at day 1.


Knowledge Base
-
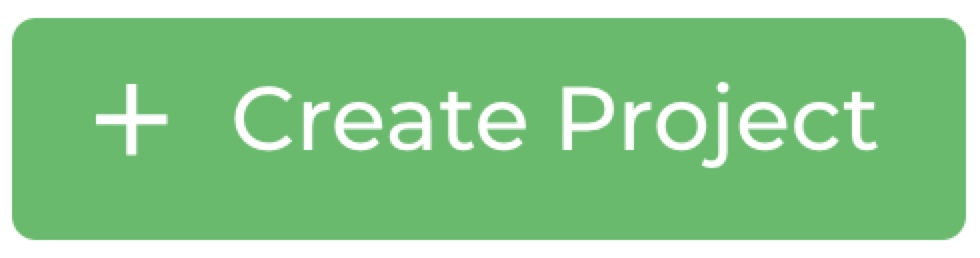
How to Create a Project
Your first project is pretty easy to start with. After creating your new account, you will want to make a project to store your work.
You can have as many projects as you want -- and hopefully will -- create many, many projects along the way. And to do so is also very simple.
Desktop:From the Mastermind page, go to the Sidebar Menu → Projects then click on
 on the top of your screen.
If you're already on a project page, you want to click on the
 icon next to your company title on the top of the sidebar menu and select
  Mobile:
From the Mastermind page, go to the Sidebar Menu → Projects →
 on the top-right corner of your screen.
If you're already on a project page, go to the Sidebar Menu →
 on top of your search bar.
 -
How to Switch Projects
Once you have multiple projects, you'll find yourself switching between them, a lot!
To do this quickly, simply use the CMD+K shortcut on your keyboard. Here's how:
Use the shortcut Command + K to easily switch between projects.
-
How to Create an Invoice
With Buildstack you can create branded invoices right from your dashboard, either from your computer, mobile phone, or tablet.
Desktop:To create a new invoice from your desktop, select a project and go to
Sidebar Menu → Invoices →
 Mobile:
If you're on your phone or tablet, once you're on a project page, go to Sidebar Menu → Invoices →
on the top-right corner of your screen. -
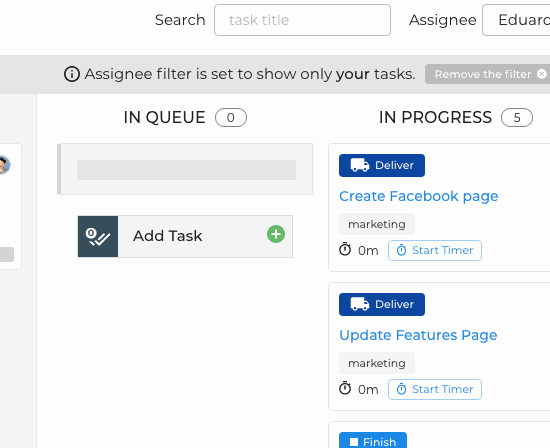
How to Track Your Time
One of our most popular features is our native time-tracker, that allows you to track how much time you've spent on a specific task, project, or even an outside activity such as a call with a client or your team.
Desktop:If you're on your computer you can start tracking the time of any task by clicking on
 when you're on your general tasks view or on
 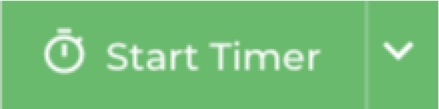 if you're on a specific task page. You can start, stop, and restart the timer how many times you want.
You can also start the timer by clicking on
 on the top of your screen, at any time, and select a pre-set event you want to track or insert your own customized one.
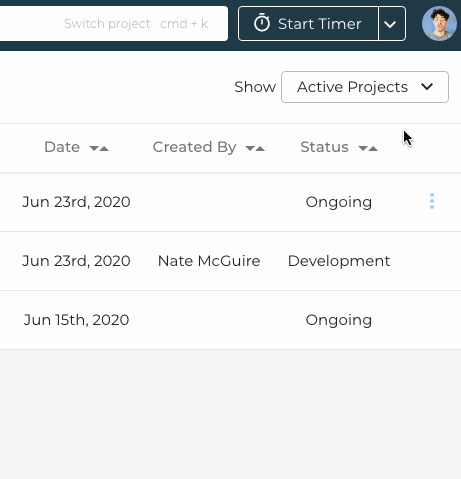 Desktop:
If you're on your phone or tablet you can start tracking the time of any task by tapping
when you're on your general tasks view. If you're on a specific task page, go to Submenu → Time → Start Timer 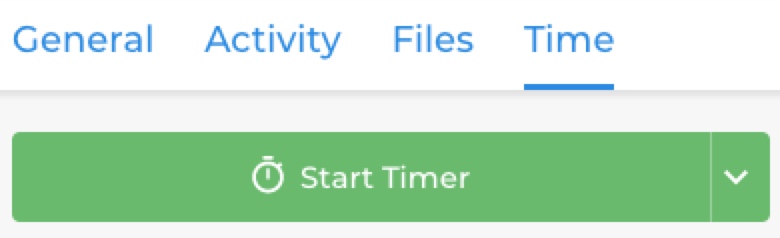
-
How to Invite People
Add unlimited users or clients on your Buildstack account so they can collaborate with you on your projects, make payments, and keep track of your progress.
Desktop:Once you're on a project page, go to the Sidebar Menu and then click on
 to invite new internal users or clients.Mobile:
Once you're on a project page, tap
 to reach the Sidebar Menu and then tap on to invite new internal users or clients.
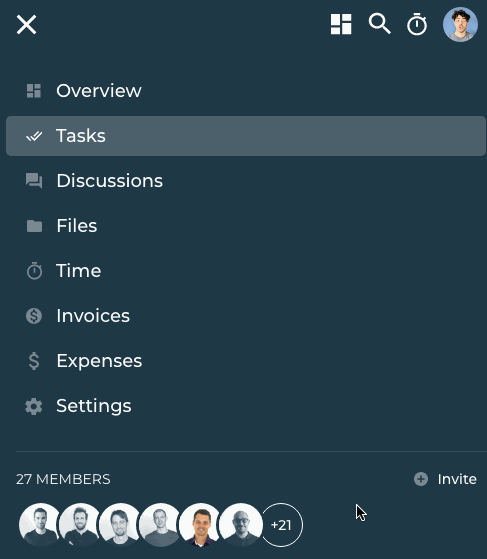
-
How to Connect Slack
Connect your Buildstack organization to your company Slack account so you can receive real-time notifications on updates to your project.
Desktop:If you're already on a project page, you want to click on the
icon next to your project title on the top of the sidebar menu and select  . When on the Settings page, go to Sidebar Menu → Slack →
  Mobile:
Once you're on a project page, tap
to reach the Sidebar Menu → → Settings When on the Settings page, swipe left on the Sub Menu → Slack → 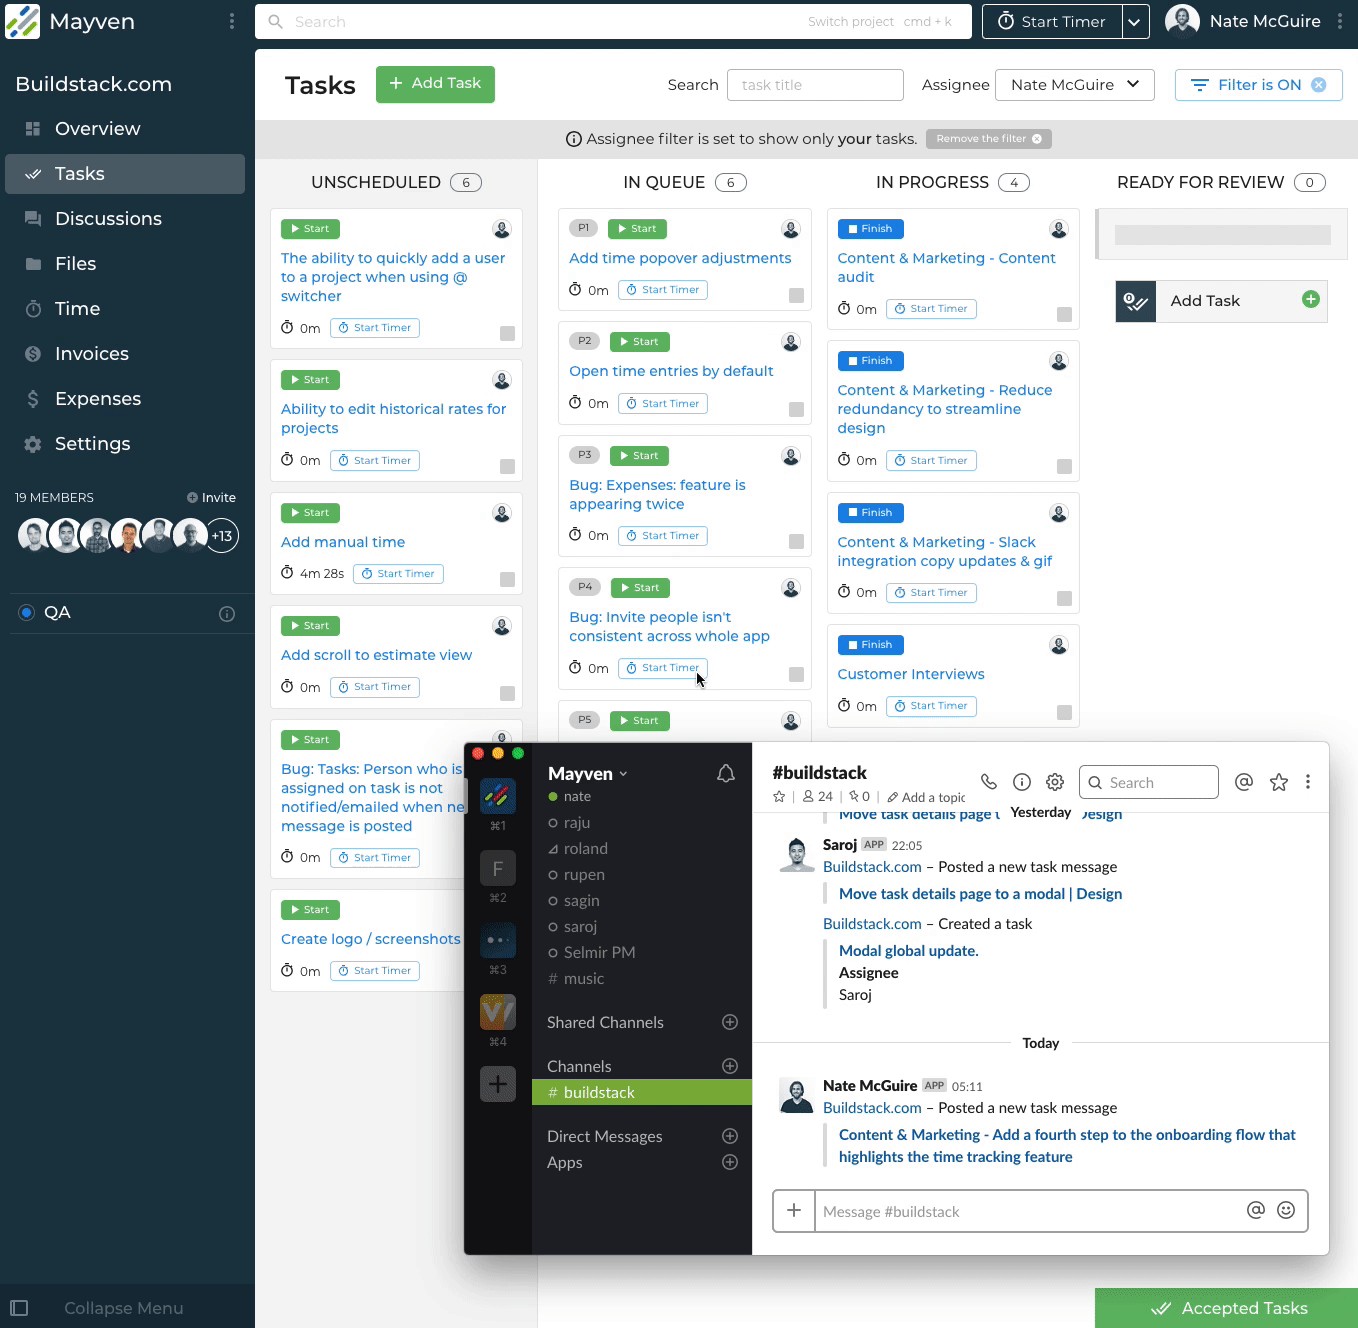
-
How to Connect Stripe
Do you need to get paid by clients? Invoicing with Buildstack is a cinch. Connect your Stripe account to accept credit cards.
Desktop:If you're already on a project page, you want to click on the
icon next to your project title on the top of the sidebar menu and select . When on the Settings page, go to Sidebar Menu → Invoice Setup →Mobile:Once you're on a project page, tap
to reach the Sidebar Menu → → Settings When on the Settings page, swipe left on the Sub Menu → Invoice Setup → 
-
How Read Receipts Work
You can turn every task on Buildstack into a private conversation between the participating team members, publishing updates, sharing links, attachments, and keeping track of the overall progress. Read receipts help you understand who's already seen any given update on that specific thread, showing you when they read it and at what time. This comes particularly handy when you work within several different time zones, and not everybody is online all at the same time.
-
How Tagging Works
Use tagging to engage team members or clients about a specific topic on your conversation. You can tag users by typing @ and choosing one or more names on the dropdown menu.
-
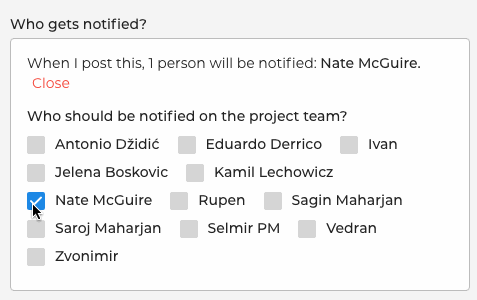
How Notifications Work
When creating a task or starting a conversation, you can choose who you want to be notified about it via e-mail. Tagged users get notified by default, but you can add others in case you want them to be in the loop as well.
-
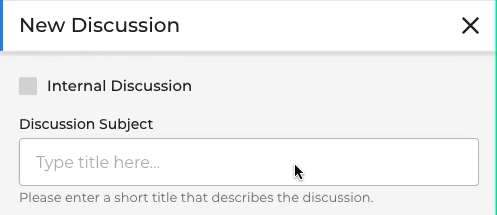
How Internal and External Messages Work
By default, all discussions and messages inside tasks are external, which means your clients have access to it. If you wanna make them private -- available only to internal users from your team -- you can do so by adjusting the setting on each message.
Task Messages: both on desktop or mobile, just click on the button on the top of the message box. When a message is private, its background turns yellow so you know it.
Discussions: both on mobile or desktop, just check the internal discussion box to make it private and not available to external users and clients. Its background will also turn yellow.
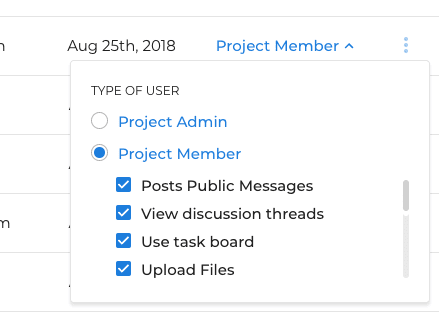
New Members: when you add a new internal user, you can set different permissions, including "post public messages", which is disabled by default, along with other options such as view discussion threads, upload files, etc.